Relocating a system

There are many things we do for our customers, from installing a new system to maintaining it to upgrading it to relocating it and even to dismantle and even sell it off. So, here is a typical job for us on a normal day. We need to move the system from one side of the office to the next and also at the same time, to relocate both the existing network and phones cables at the same time too. And then, to lay more new network and phone cables as well.

Luckily for us, the "other side" is just behind the wall and since most of the cables are going through the four holes, it made our job easier. So, we broke the job into three sessions.

The first was to relocate the system and also make sure the existing phones are still working. The second session is to lay fresh network and phone cables for the new desks and lastly, to standby on site to make sure everything works.

In this job, you'd really have to think and work fast since time is money and at the same time, in the cheapest way possible for the customer.

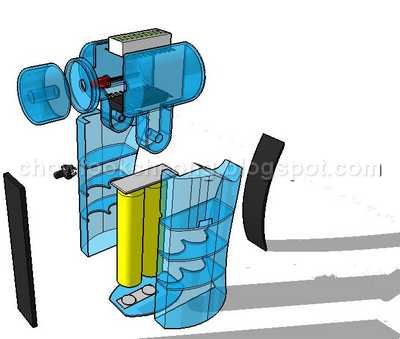
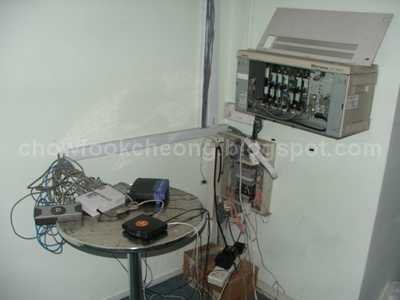
This is the system we're going to relocate to the other side

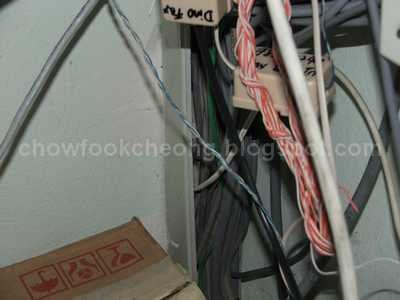
And how do we do this? There are four holes in the wall
where the cables come through

So, we're going to pull it back from the other side
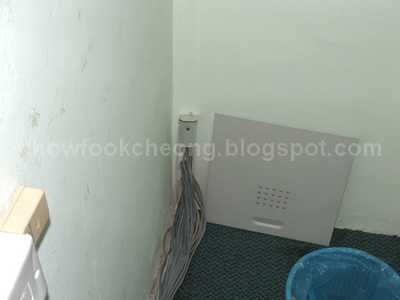
See the four holes?

All done! But because its already late in the evening,
we just connected the wires quickly and tidy up
tomorrow.

Eprom Data

While we're shifting stuff between both floors, I came upon the NEC again. This time, there is really no hope for it at all. So, while I was taking the cards out, I came across a few EPROMs. When I was younger, I was fascinated with EPROMs but doing up a circuit to reveal its data was too cumbersome for me (OK, I was too lazy). I was into EPROMs quite a lot, not because of its function to store data but more of a jewel because of its UV window. This is a small piece of quartz window which uses Ultraviolet light to erase data in the EPROM. But what was more important to me was how it reflects light of the rainbow and I was looking all over Malaysia to get a really clear and strong resin so I can make a keychain out of it. And also, buy a darn good EPROM programmer for both UV EPROMS and EEPROMS (unfortunately, which in the end, the money went to a Sony Playstation instead. Ha ha ha ha)

Anyway, I liberated a few EPROMs and used the PIC chip to go over its contents and display them on a row of LEDs. But because the PIC I used had only 16 pins, I could not get the full range of data. Then again, do I really want to?

The reason why I am so interested again is because the data output from the EPROM is the perfect way to generate random blinking lights. But the EPROM I got, did not have much data so in the end, what you see in the video was a lot of flashing instead of random stuff.

Maybe I can still save up for an EPROM programmer even though these technology is obsolete..............
This is the test circuit

And this is the video below:

Saturday afternoon with Kristine

Just as I came back from work at three, it was quite sunny and Kristine wanted to go out to play. And she has started to like ambehbas now.

Yes, our very own ambehba girl

Parading around the 1.0L Daihatsu car

Unfortunately, the ambehba was too big

So, she had to drag it about. Luckily, there was no strong wind

And dragged it, she did

All over the place, I might add

And she gave me a small flower too

I was also surprised that she does know how to cycle

And after a long afternoon, its time for an evening nap

Before she starts to put food on the floor again

Oh, another thing, Kristine likes to have showers now,
instead of bubble baths

The Hand Scanner revisited

Many of you have asked me how I did the Hand Scanner. I will post up the pictures here and later (hopefully) give you the step by step details in my website.

First you use the Flowcode to create and simulate your
program.

Then, you use MPLAB to compile and assemble the program


And you use the PICstart Plus to burn the program into the PIC chip


Before you do anything else, test the program again,
this time in the real World


And once it is done, you wire it up carefully
And slow down on the cursing


Every now and then, test the circuit as when you have
everything stuffed inside, keep in mind of Murphy's Law

Here is a simple diagram via Google's free SketchUp on how the original
battery powered fan looked like

Again, thanks to Google's free SketchUp, you can see what I
did to the original toy. And I still have not had the chance
to paint it up
(Oh, the black stuff is the foam tape).